HTML id Attribute
The HTML id attribute is used to specify a unique id for an HTML element.
You cannot have more than one element with the same id in an HTML document.
Using The id Attribute
The id attribute specifies a unique id for an HTML element. The value of the id attribute must be unique within the HTML document.
The id attribute is used to point to a specific style declaration in a style sheet. It is also used by JavaScript to access and manipulate the element with the specific id.
The syntax for id is: write a hash character (#), followed by an id name. Then, define the CSS properties within curly braces .
In the following example we have an <h1> element that points to the id name "myHeader". This <h1> element will be styled according to the #myHeader style definition in the head section:
<!DOCTYPE html>
<html>
	<head>
		<style>
			#myHeader {
			  background-color: lightblue;
			  color: black;
			  padding: 40px;
			  text-align: center;
			}
		</style>
	</head>
	<body>
		<h2>The id Attribute</h2>
		<p>Use CSS to style an element with the id "myHeader":</p>
		<h1 id="myHeader">My Header</h1>
	</body>
</html>
Output:

The id name is case sensitive!
The id name must contain at least one character, cannot start with a number, and must not contain whitespaces (spaces, tabs, etc.).
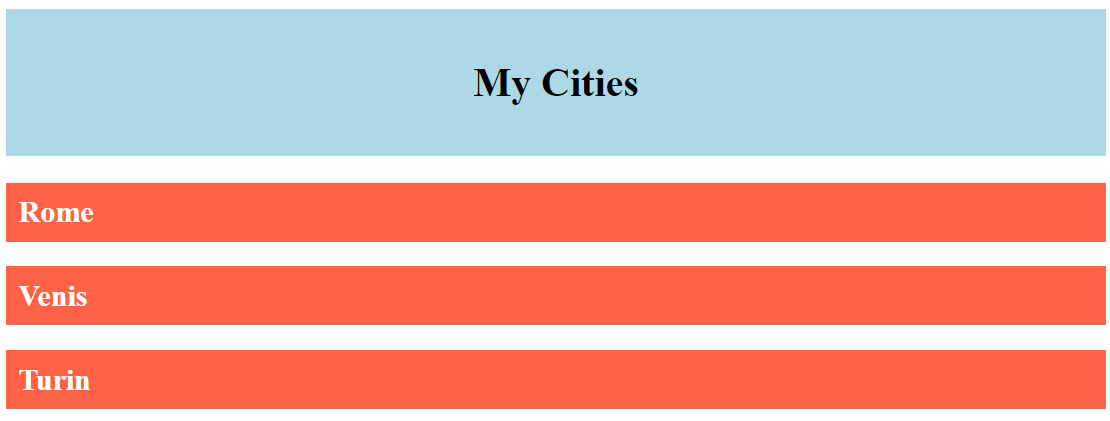
Difference Between Class and ID
A class name can be used by multiple HTML elements, while an id name must only be used by one HTML element within the page:
<!DOCTYPE html>
<html>
	<head>
		<style>
			/* Style the element with the id "myHeader" */
			#myHeader {
			  background-color: lightblue;
			  color: black;
			  padding: 40px;
			  text-align: center;
			}

			/* Style all elements with the class name "city" */
			.city {
			  background-color: tomato;
			  color: white;
			  padding: 10px;
			}
		</style>
	</head>
	<body>
		<!-- An element with a unique id -->
		<h1 id="myHeader">My Cities</h1>
		<!-- Multiple elements with same class -->
		<h2 class="city">London</h2>
		<h2 class="city">Paris</h2>
		<h2 class="city">Tokyo</h2>
	</body>
</html>
Output:
HTML Bookmarks with ID and Links
HTML bookmarks are used to allow readers to jump to specific parts of a webpage.
Bookmarks can be useful if your page is very long.
To use a bookmark, you must first create it, and then add a link to it.
Then, when the link is clicked, the page will scroll to the location with the bookmark.
Example:
First, create a bookmark with the id attribute:
<h2 id="C4">Chapter 4</h2>
Then, add a link to the bookmark ("Jump to Chapter 4"), from within the same page:
<a href="#C4">Jump to Chapter 4</a>
Or, add a link to the bookmark ("Jump to Chapter 4"), from another page:
<a href="html_demo.html#C4">Jump to Chapter 4</a>
Using The id Attribute in JavaScript
The id attribute can also be used by JavaScript to perform some tasks for that specific element.
JavaScript can access an element with a specific id with the getElementById() method:
<!DOCTYPE html>
<html>
	<body>
		<h2>Using The id Attribute in JavaScript</h2>
		<p>JavaScript can access an element with a specified id by using the getElementById() method:</p>
		<h1 id="myHeader">Hello World!</h1>
		<button onclick="displayResult()">Change text</button>

		<script>
		function displayResult() {
		  document.getElementById("myHeader").innerHTML = "Have a nice day!";
		}
		</script>
	</body>
</html>